
In this tutorial you will learn how to Capture Screen on Mac.
httpv://youtu.be/IKDWvf9QUas
Step 1. If you want to quickly capture the entire screen, use the combination of “Command”, “Shift” and “3” keys. The short camera shutter sound and a new screen shot appearing on your desktop indicates that you’ve done everything right. The screenshot that just appeared on your desktop contains the exact screen capturing time in its description and comes in PNG format.
Step 2. If you want to quickly snap a part of the screen, press “Command”, “Shift” and “4” keys. Your cursor will turn into small reticle with two number values that stand for screen coordinates. These values will change when you move the cursor. Now click and drag this cursor until the needed area of the screen is selected. When we let go of the mouse, the screenshot will be made and saved on the desktop. If you’ve made the incorrect selection of the screen area, press “Escape” to cancel the action.
Step 3. When you’re working with the screenshots of entire screen that need to be quickly pasted into the text document or email, use the following method. Press “Command”, “Control”, “Shift” and “3”. Looks like nothing has happened, but, in fact, your image has just been saved to the clipboard. Now open your text document and press “Command+V” or, “Edit” and “Paste” so the fresh screenshot will be inserted into your document.
Step 4. If you want to do the same with the selected part of the screen, press “Command”, “Control”, “Shift” and “4”. The cursor will turn into reticle. Now make your screen selection and let go of your mouse. Open the text document and paste the screenshot of the screen fragment into it.
Step 5. If you don’t like the combinations of keys, you’ll like the following method. Open the “Finder” window, click “Go”, “Utilities” and “Grab”. The wonderful little program called “Grab” allows you to take snapshots of your screen in many ways. Choose “Capture” from the program menu and, from the drop-down, pick the type of screenshot you want to take: you can choose snapping screen selection, taking the shot of open window, snapping the whole screen or choose “Timed Screen”, which means that “Grab” will snapshot the screen after 10 second from function activation time. We’ll choose “Screen”. We click on screen and get a full desktop screenshot as a result. Let’s save a screenshot to our desktop – it gets saved as a TIFF image.
Step 6. While snapshots of Mac screen are supported various built-in functions, video recording of the screen is a bit trickier. You’ll need to download one of the programs to do this. Some of the recording tools names are: Camtasia, Captureit, Capture Me, Screenium, Screenflow, etcetera.
We’ll demonstrate for you Camtasia. Follow the link on screen to download Camtasia’s free trial.
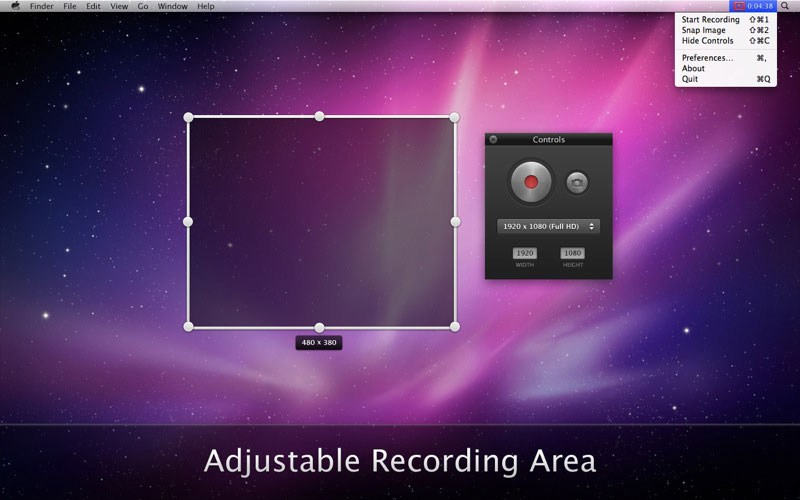
When you’ve downloaded and opened Camtasia’s menu, click “File” and then “New Recording”. From the little pop-up menu you can now choose the kind of screen video that you need to record. The first drop-down on the left allows you either choose to record full screen or its custom region. You can also choose screen resolution from the same drop- down.
Step 7. The next button allows you to activate the little camera window. We use this option if we need to show the screen recording author commenting on his or her actions. “System Audio” button (activated when it’s green and deactivated when it’s grey) either includes or excludes system audio from screen recording. For instance, if you want to include sounds of mouse clicks, snapshot taking and so on in your recording – you should activate this option. The microphone button is now grey and deactivated. When we click to activate it, the recording will include the external sounds like ambience of the room, author of screen recording commenting on his or her actions and so on.
Step 8. Now make your pick and, when you’re ready to record, press “REC” button. In a couple of seconds, screen recording starts.
When you’re done, click the red film stripe button on the top of screen and choose “Stop Recording”. The recorded file will appear on your screen. The menu with recorded file allows you to do small manipulations with recorded video: trimming it, editing it and applying basic effects. To export the video, press “Share” and choose “Export” from the drop-down. Name your file in the next window and press “Export”.
[ica_orginalurl]